

Intermediate Digital Painting Course Lesson 2
Uses: Shade & Custom Brush Styles

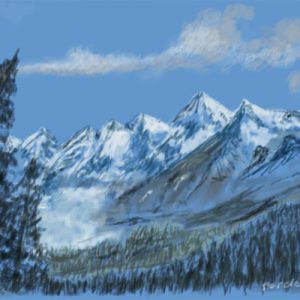
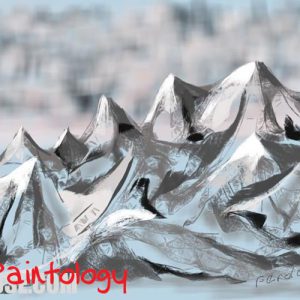
The painting in this lesson will introduce you to more practice on the perspective that are essential to landscape paintings. For this lesson we are going to paint the completed painting in fig. 4 drawn in Paintology using only a select few brush styles. Note this painting did not take much time at all and one can produce something that looks good with sufficient practice.

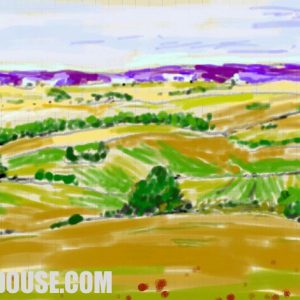
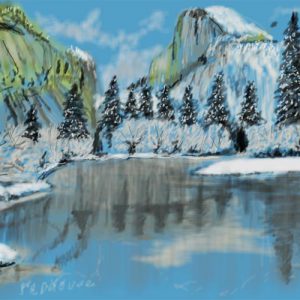
The first part of this painting is to draw and outline, the horizon and the background info behind the foreground land and trees (fig. 1). This makes perfect sense since we will draw over this area to create the foreground tree trunks shown in the final rendering. Depending on how much details you want and how the final painting should look like, you can spend more time in working with the details of the background. I chose to do this fast and used larger strokes for the skies and kept to single colors for the clouds. To create the forest in the horizon I used a combination of colors and resizing my brushes accordingly. The brush style I chose for this is the ‘haze dark’ and varied the hardness to provide a diffused look to the far distant objects. Using a deeper color, I was able to create the dark patches and going over it very quickly. Reflections and the lake scene were done in the same manner.

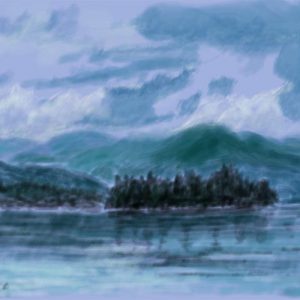
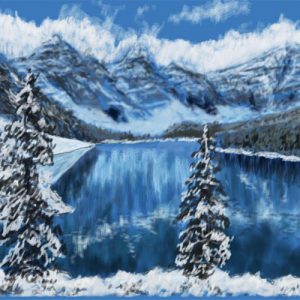
For the second part of this painting, I etch in the dark patches of land again using the ‘dark haze’ tool and increasing the hardness to give it more opacity (fig. 2). To provide realism to the land in the foreground, I mix this with other darker and lighter colors and go over it relatively quickly. I introduce the main trees in the foreground by picking up a very dark color and maintaining the ‘dark haze’ tool.

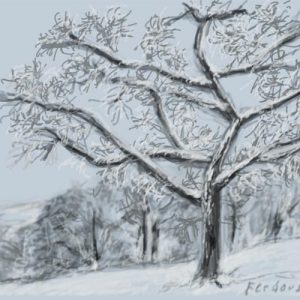
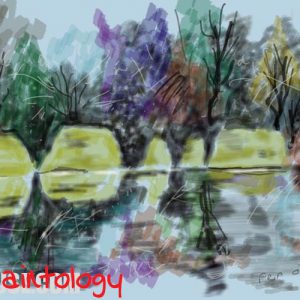
To add realism, I simply paint the lighter part of the trunk using a different color (fig. 3). Once satisfied, I proceed with the last steps of the painting where I do the final fun ‘touch-ups’ to bring the painting together. Essentially, I keep to the ‘dark haze’ brush tool and vary the size to add additional branches to the almost dead-looking trees and whites to accentuate it. With a little bit of grassy areas in the middle sections, the painting is finally completed.


 Digital Canvas
Leave a Reply