Advanced Digital Painting Course Lesson 2
Uses: Spray & Custom Brush Styles including Line tool
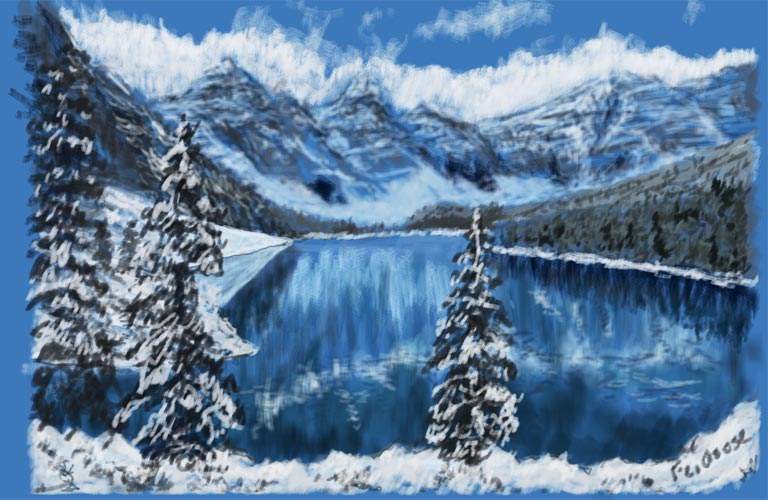
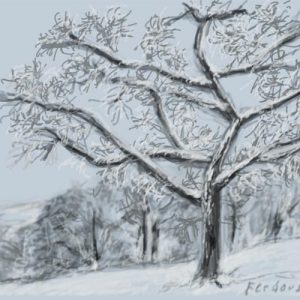
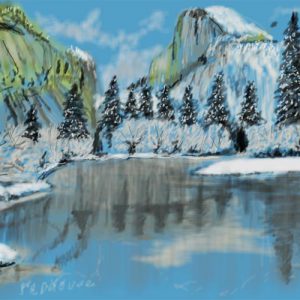
For this Advanced Digital Art Course – Lesson 2 we are going to create another landscape that shows more details and perspective using a combination of brush styles, including spray, custom and line tools. Fig. 1 shows the final rendered painting where we’ve managed to capture a cold scene with the snow capped trees in the foreground. The tonal balance of this picture has also been kept narrow to the point where the trees are almost similar in color to the rest of the scene. The advantage with digital art is that unlike working with actual mediums such as acrylic, oils or watercolors, the color palette is exceptionally powerful for digital art. We can instantly pick any type of colors from an infinite color palette with the correct hue, saturation etc. whereas in the real world one would have to go through complex mixing and blending to get the exact color match.
With regards to color theory for digital art and especially working with these types of software applications it is yet unclear (at least to me) how the overlapping of colors affect the overall color. In my style of painting and since I have an infinite possibility of colors available to me, I rarely work with blending of colors as I pretty much did in my real world paintings. Please check out some of my paintings in the art gallery. Now with the digital palette at my disposal, I find that I’m able to automatically control the overall tonal balance of the painting once the painting has been completed. There is no doubt in my mind that as the technology of digital art progresses with the advent of tablets, there will be a necessity for application developers to bring applications that match the needs of real world painters of today. For example, a palette where painters can actually mix the colors intensely or subtly to get the effect of the paint on their virtual brush.
If I were to quote a similar famous line used by the great inventor Thomas Edison ‘genius is 1% inspiration and 99% perspiration’ then my quote for painting would be, ‘painting is 1% technical and 99% practise’. The more you practise the more nuances and techniques that you develop and apply to your painting projects. Part of the practise should include picking up pencil and paper and dabbling in other art medium. In this way you will develop skills in each of them that will actually benefit you in any medium that you decide to work with including digital art.
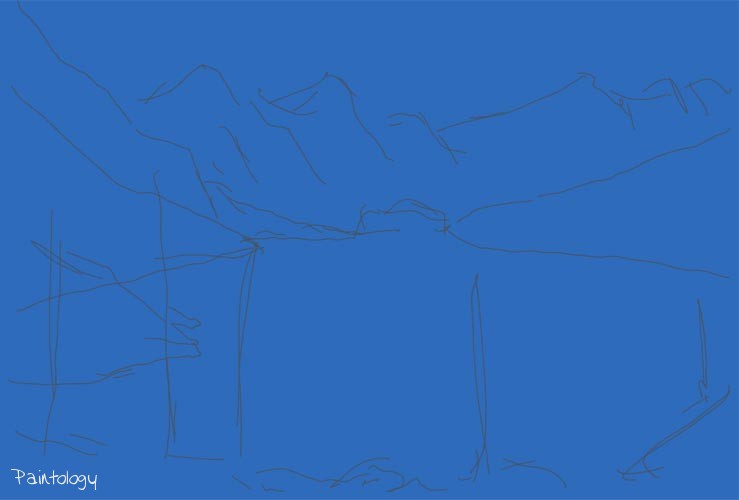
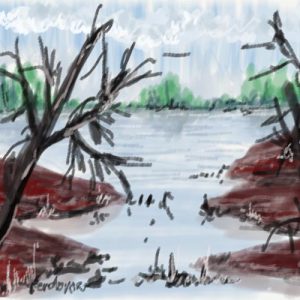
Like previously, we sketch out the main parts of the landscape as shown in fig. 2 which provides a framework to work with.
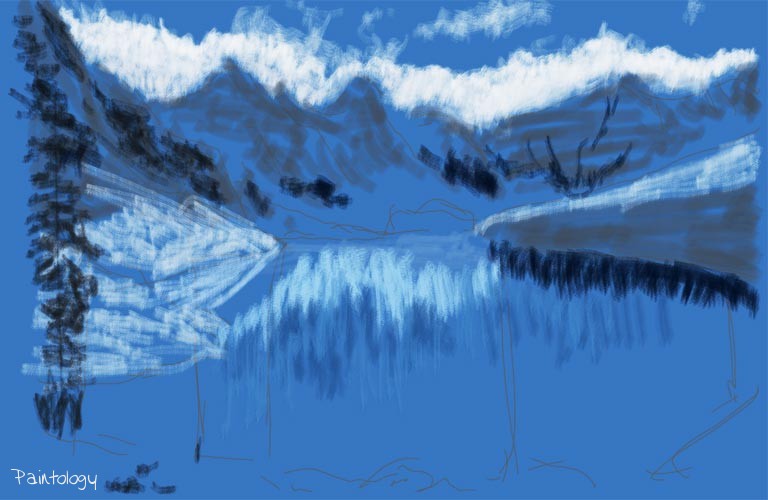
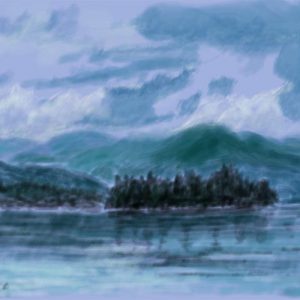
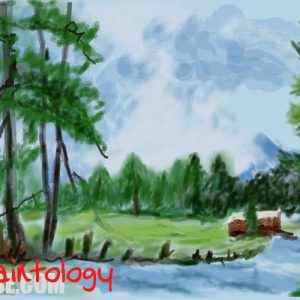
On top of this, we fill in the mountains, sky and some of the reflections in the lake (fig. 3). We pick out the custom brush tool where we can vary the size, opacity and transparency to give a brighter shade as in the case of the clouds. Depending on how intricate you want your landscape to look like, you can spend more time on the clouds to provide shape and form. However, on this occasion I went for the quick approach of keeping a low line of clouds near the mountain tops without too much definition. Note that I also picked out darker areas for some parts of the landscape including the large tree that will go on the left hand side. There are no hard and fast rules of what order you should follow, you would also do the clouds and mountains in its entirety before deciding to work on the foreground. For me, I feel comfortable that I work with the painting as a whole and build up layers to finish the final painting. I usually get my inspiration for landscape paintings by doing a search in Google images.

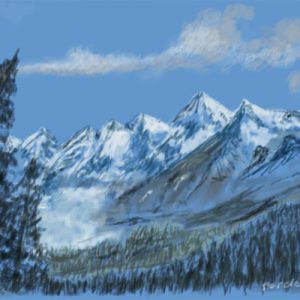
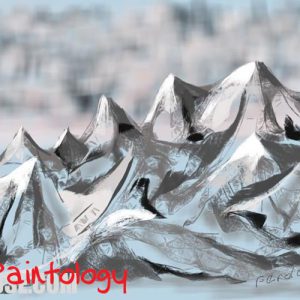
In fig. 4 as you can see, I am focusing on the mountains and giving this area more definition. Since the mountains will feature the main parts of the painting, I spend a little more time trying to define the mountain faces, the colors and the whole overall look. To get the effects I am looking for, I would vary the size of my brush and go over in a successive manner alternating between colors and sizing the brush to get the effect that I am looking for.
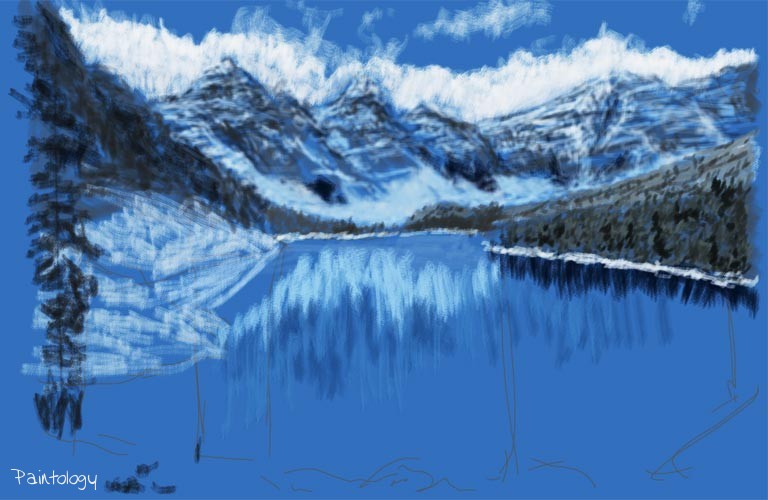
Having completed this task, I now focus on the trees that follow the perimeter of the mountains and along the lake edge (fig. 5). In addition, I add a lower hanging mist at the mountain foothills behind the tree line. Doing something like this reduces the time you will need to work out the details there.
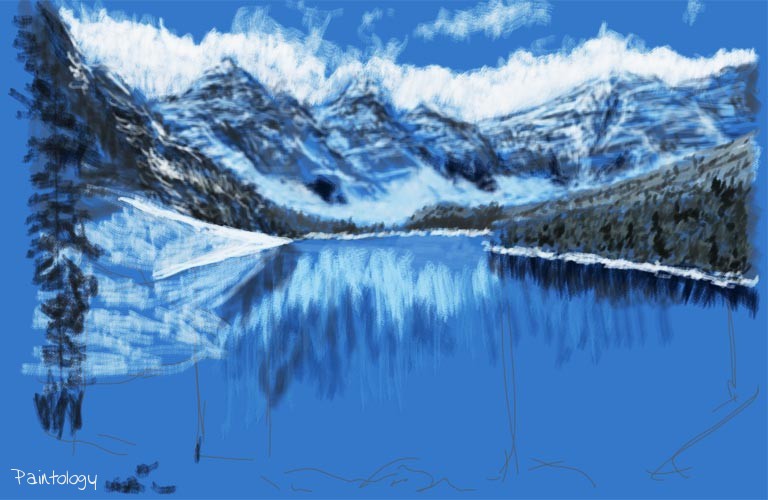
For the woody area that extends to the right with the line of trees at the lake edge, I was deliberately looking for an effect that would allow me to provide a vague appearance of the tree faces. By dabbling with darker and lighter colors of the foliage and mainly scribbling up and down, I was successful in generating the effect that I was looking for. I continue to develop the left side of the painting where there were traces of mountains as shown in fig. 6.
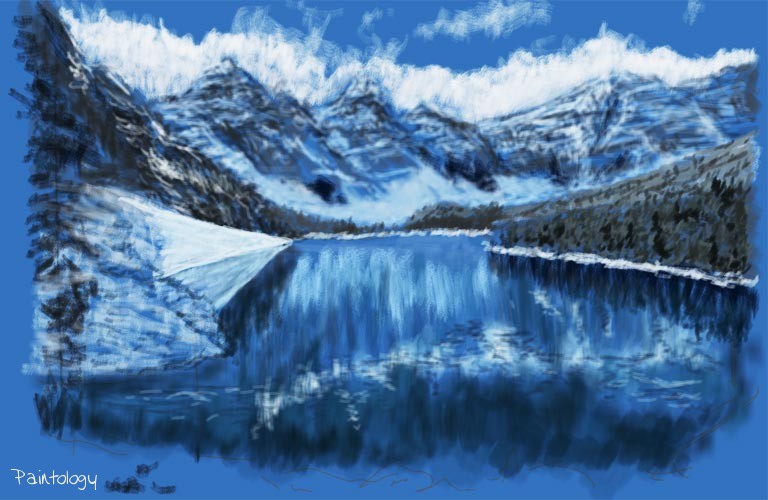
In fig. 7 I undertake the foreground where there are reflections in the lake. By using white hues and stroking from left to right and bringing the pen down towards you, I manage to create the whites. I then used a thinner brush with a darker tone to create the ripples.
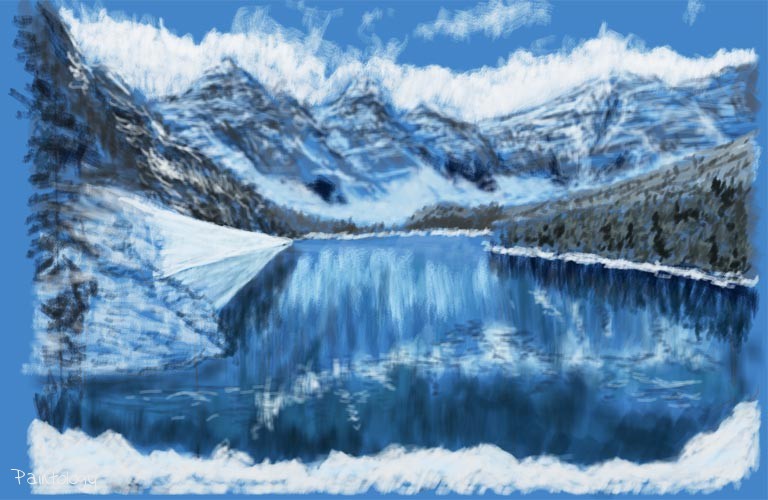
Also for the darker areas of the lake use a spray tool with a large brush size. Fig. 8 shows further development of the foreground as well as the large snowy patch of land to the left that disappears into the horizon including its own reflection.
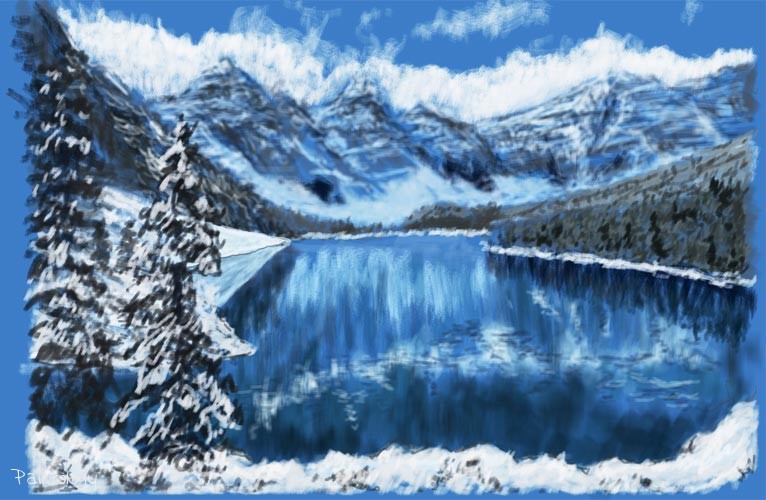
Notice also that adding a white edge to the base of the tree line and the lake edge gives a photorealistic look to the whole painting. Fig. 9 shows additional trees drawn in the foreground with snowy patches. The trees and snowy patches are fairly easy to do with the custom tool by varying the opacity for brightness of the snow and the shades of the trees. Again, don’t follow any specific method, just go over the shape of the tree with one shade and then go over it again in another shade. By doing this you are getting a different combination of shades which make the tree appear to have substance. The snow patches can be brighter than usual and this is done by varying the opacity and transparency of your brush style. Try it out and see!




 Digital Canvas
Leave a Reply