Beginners Digital Painting Course – Lesson 3
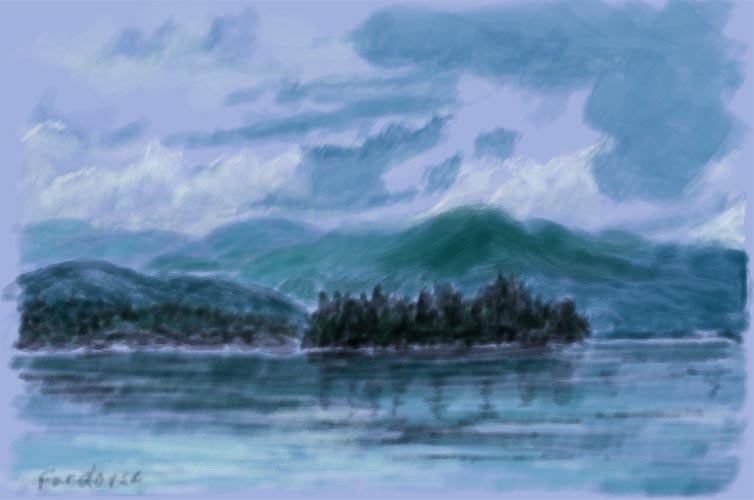
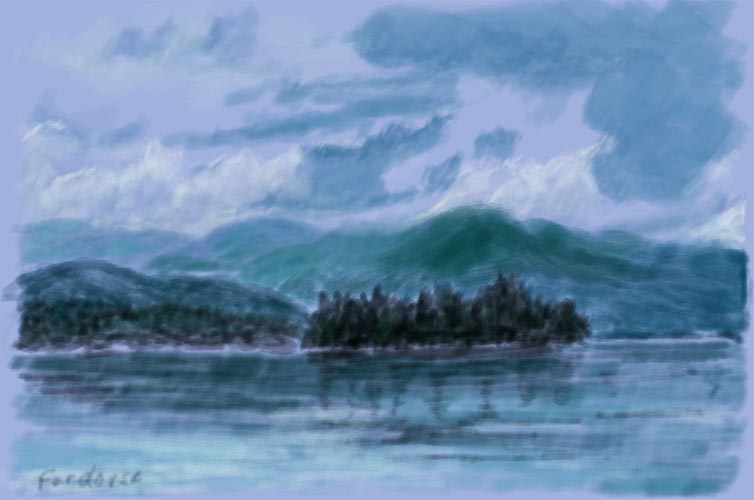
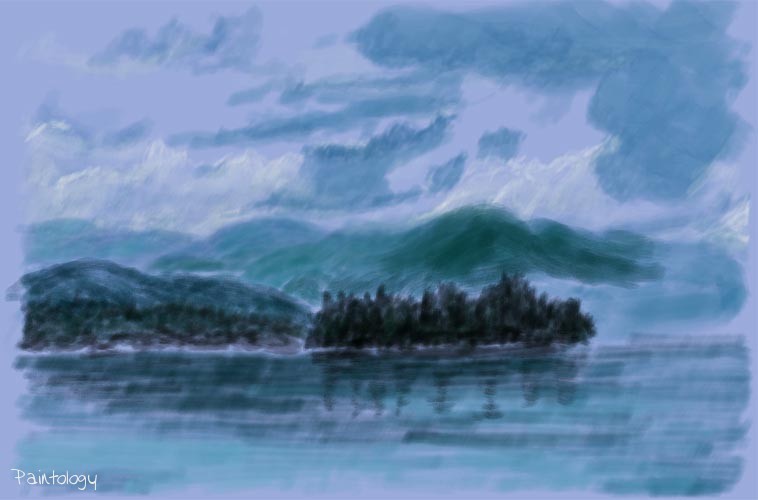
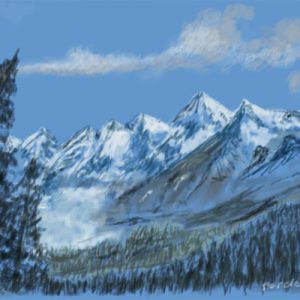
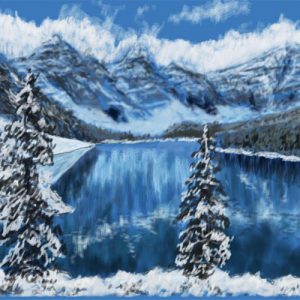
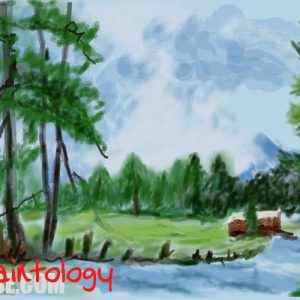
For this lesson, I have picked up a painting (fig. 1) that will teach you some of the intricacies of what constitutes a landscape and should enable you to create better landscape paintings. If you look at many of the landscape pictures taken by reputable landscape photographers you will find some common components that appear in all the landscapes. Of course, you may find this method doesn’t apply to some landscapes where the lighting through the sunshine can be harsh or in the case of a very moody climate. Generally, in any landscapes, the far distance horizon usually takes on lighter and muted colors and in the foreground we have more deeper colors with higher contrasts. Also, far distance objects by their distance are naturally blurred whereas the near foreground objects will be sharper.
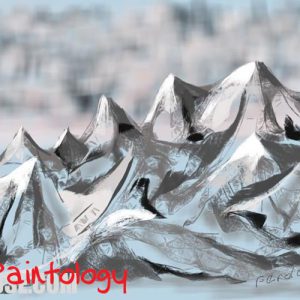
When I was in Morocco, I was having lunch atop a rooftop restaurant that gave a wonderful 360 degrees view of the Marrakech city. Fortunately, I had my drawing pad and pencil with me and went about depicting what I saw all the way to the Atlas mountains in the far distance. As I was sketching this interesting scene with the warm sun beating over me, I noticed that the far distance objects were too small to warrant any details. So I automatically adjusted my drawing to providing almost scribbles for the far distance scenes and focussed more on the details in nearby. I eventually ended up with the sketch shown in Fig.1b where you can see that the details in the far distance just captures the essence of the city rather without providing any details. As you get closer there are far more details with the blocky buildings, rooftops, shapes etc. The same methodology applies to landscape painting where you diffuse out the far distance scenes and give more shape, character and contrast to the foreground scenes. You will see that the painting I have selected for this lesson more or less follows this methodology.
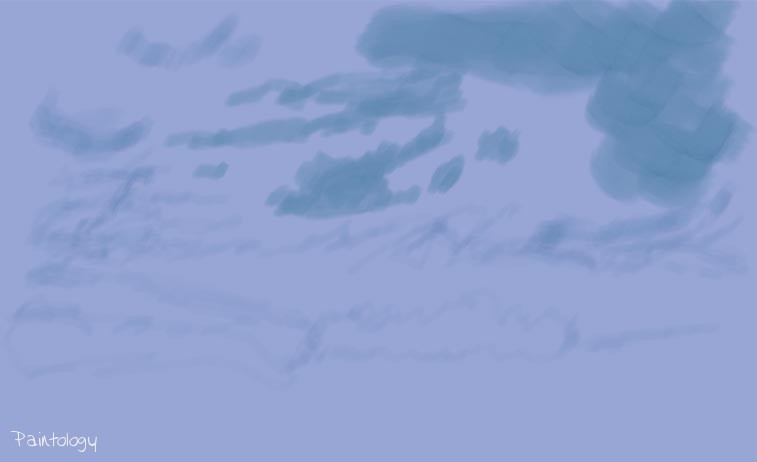
Picking out a light blue canvas, I start by painting the clouds using the spray tool as shown in fig. 2. Don’t worry about the details yet, we are simply filling in areas where various parts of the painting will be.
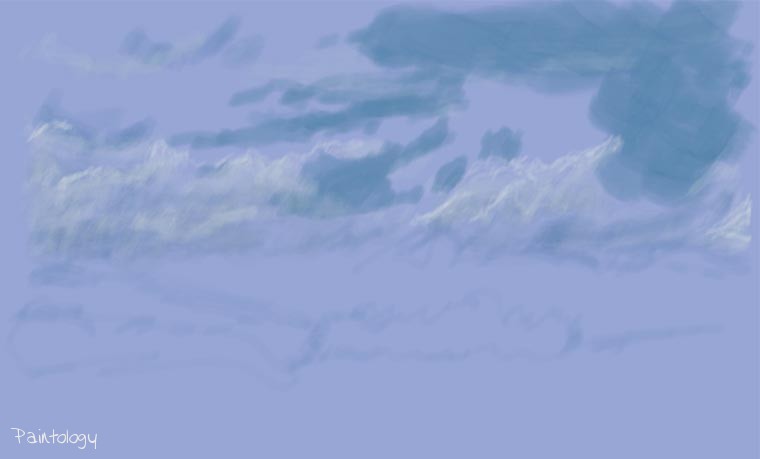
In the next painting (fig. 3), I have picked up the white color still with the spray brush tool and highlighted the clouds as shown. The spray tool is an excellent tool, in that if you go over the same area several times, you can get a deeper and brighter shade of white. This is perfect for drawing clouds. Another important point in drawing clouds is that the details of cloud edges can be very pronounced as well as bright. In this case, I reduce the brush size and work around the cloud edges to enhance this cloud effect. There isn’t really much to painting clouds, and with practice you will be drawing very realistic clouds. However, remember when you are painting, the idea is not always to depict a landscape in its exact form but adding your own ‘charm’ and insight into the painting. This is what gives each landscape painting its own unique look with the signature of the artist.
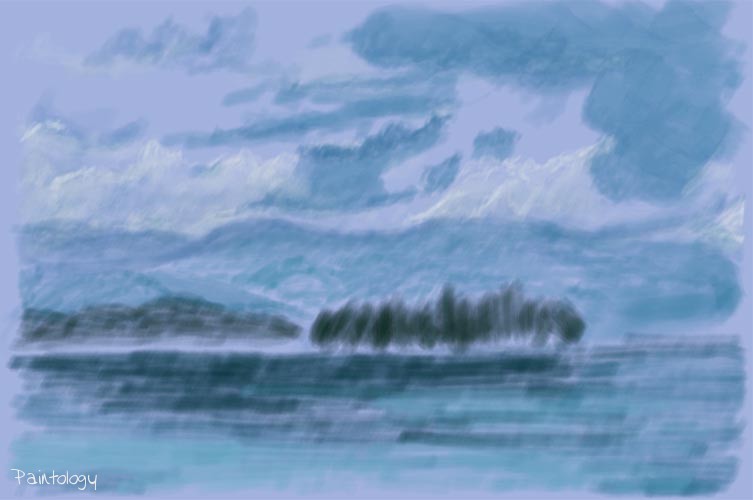
Using darker tones and still maintaining the spray tool, I create the mountains as well as the trees in front of the mountains (fig. 4).
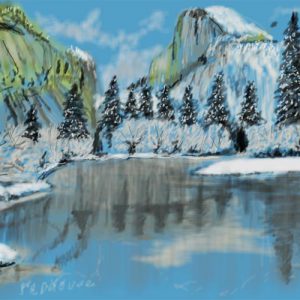
With a little bit more work and adjusting the spray brush size, I add more details to the hills and trees as shown in fig. 5. Notice, how I deliberately add a bolder color for the hill that is closest to us in the same manner explained previously. With further touches, I paint in the reflections and accentuate other parts of the painting all using the spray tool to arrive at the final painting shown in fig. 1. You could continue with this painting and add foregrounds that I was talking about earlier, perhaps another crevice of land in the foreground. If you did add information in the foreground it should follow the same rules of landscape painting that I described earlier. By all means, don’t follow my instructions in a parrot fashion, experiment and play with different colors, shades and brush styles to see what you can bring out from your own painting.




 Digital Canvas
sageer
9956435711